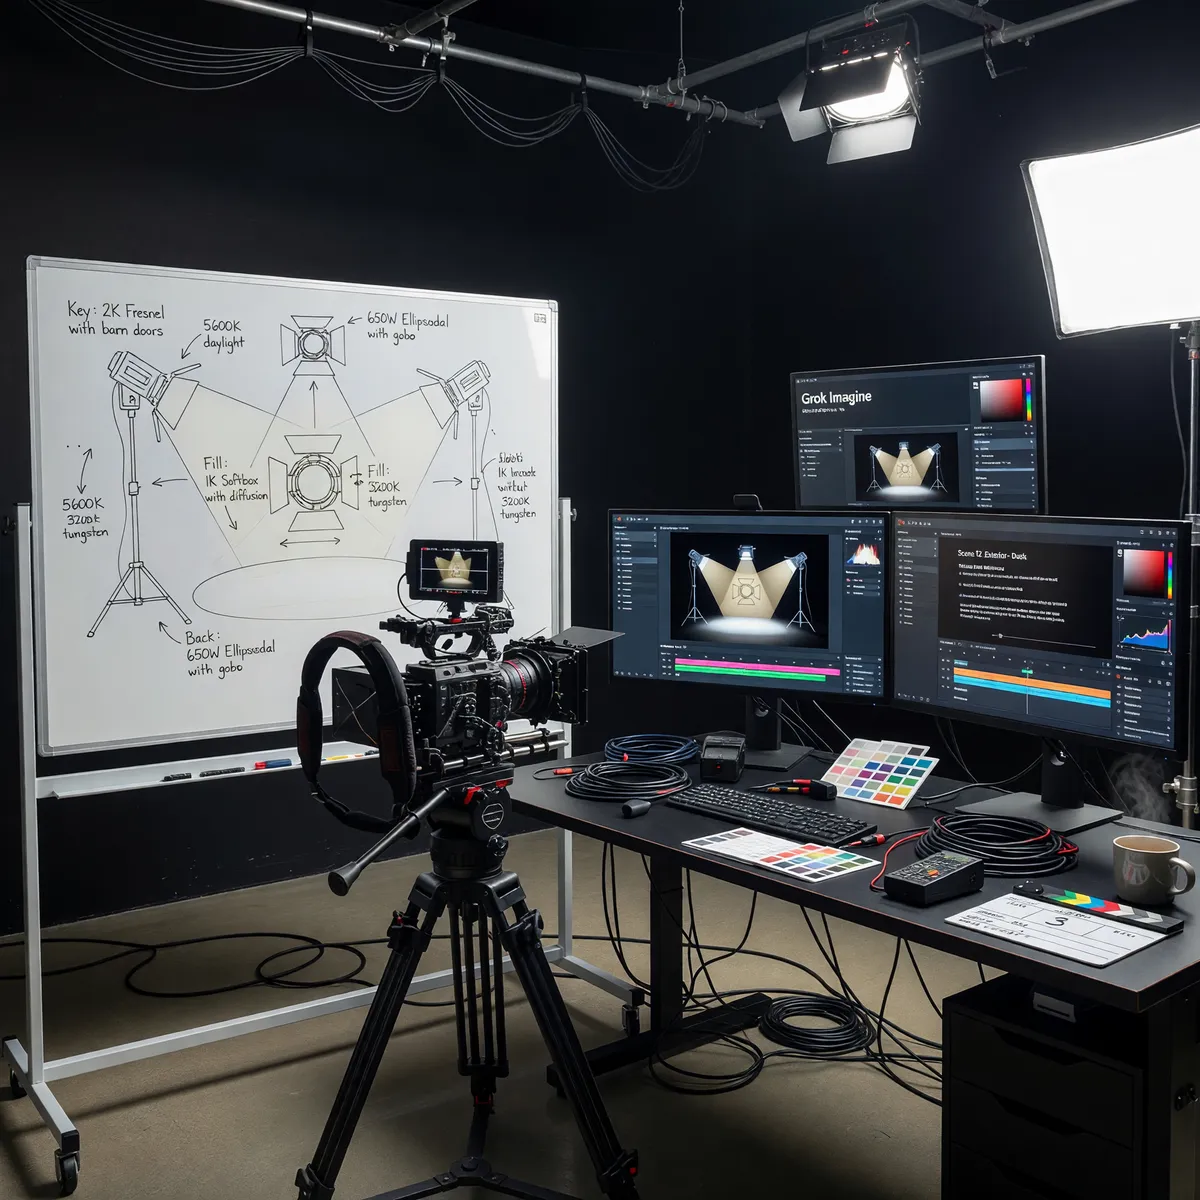
A photographer friend looked at my Grok Imagine outputs and said something that stuck with me: "These look like someone who learned photography from YouTube tried to explain a shot to someone who's never held a camera."
Ouch. But accurate.
I'd been prompting Grok Imagine with vague aesthetic terms. "Cinematic lighting." "Professional look." "Moody atmosphere." Words that sound right but mean nothing specific. The AI was guessing, and I was getting guesses back.
Then I spent a weekend learning actual cinematography vocabulary. Key light, fill light, rim light. Focal length. Color temperature. Proper terms for what I'd been vaguely describing.
My results improved overnight. Not because Grok Imagine got smarter. Because I started speaking its language.
Why Grok Imagine Is Different#
Grok Imagine is built on FLUX.1, which means it inherits that natural language understanding. But there's something else going on here. The model seems specifically tuned to respond to cinematography and photography terminology.
I tested this directly. Same subject, two prompt styles.
Vague version: "Portrait of a man, dramatic lighting, professional photo, dark background"
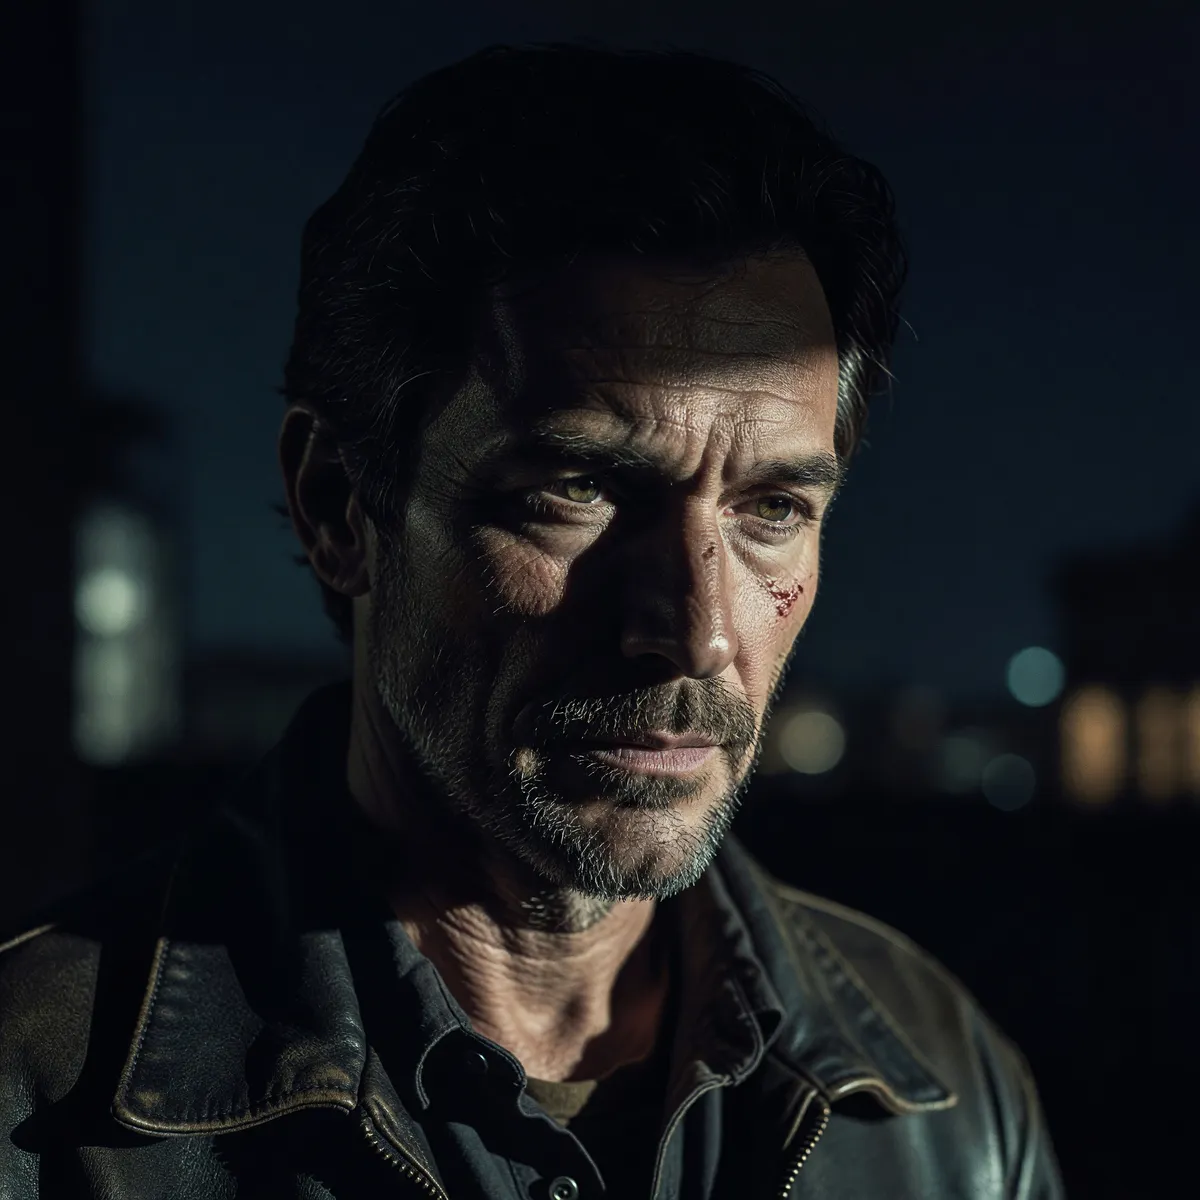
Technical version: "Portrait of a man lit with Rembrandt lighting setup. Key light positioned 45 degrees to the left, creating a small triangle of light on the shadow side of the face. Low fill ratio for dramatic contrast. Black seamless background. Shot with an 85mm lens at f2.0 for shallow depth of field."
The vague prompt gave me a generic portrait with some shadows. Fine.
The technical prompt gave me exactly what a professional photographer would deliver with that lighting setup. The signature Rembrandt triangle on the cheek. The right contrast ratio. The proper background separation. Perfect.
Grok Imagine knows what these terms mean. Really knows them. Not in a "maybe this is what they want" way. In a "here's the precise execution of that technique" way.
The Six-Part Prompt Structure#
I developed a template after analyzing what consistently worked. Six sections. You won't need all of them every time, but thinking through each one helps.
1. Subject: Who or what. Physical description, expression, pose, clothing. Be specific.
2. Lighting Setup: This is where Grok Imagine shines. Name the actual lighting technique. Three-point lighting. Butterfly lighting. Split lighting. Rim lighting. Rembrandt. Or describe the light sources and their positions precisely.
3. Camera Settings: Focal length, aperture, film stock or sensor type. These control perspective, depth of field, and image character.
4. Composition: Framing, angle, perspective. Eye level, low angle, high angle, Dutch angle. Rule of thirds, centered, symmetrical.
5. Environment: Background, setting, props, context. What's visible beyond the subject.
6. Color and Mood: Color grading notes, color temperature, film look, post-processing style.
Here's that structure in action:
"Close-up portrait of a woman in her 40s with short gray hair and minimal makeup. Lit with soft butterfly lighting from directly above, creating subtle shadows under the nose and cheekbones. Subtle fill light from below to soften shadows. Shot with a 100mm macro lens at f2.8 for shallow depth of field, keeping the eyes sharp while softening the background. Framed tightly from the shoulders up, centered composition. Simple gray seamless background. Natural color grading with slightly desaturated tones, resembling medium format film photography."
That's around 100 words and hits all six sections. The result? Professional editorial portrait that looks like it came from a real photo session.
Lighting Terminology That Actually Works#
This is the secret. Learn these terms and use them correctly.
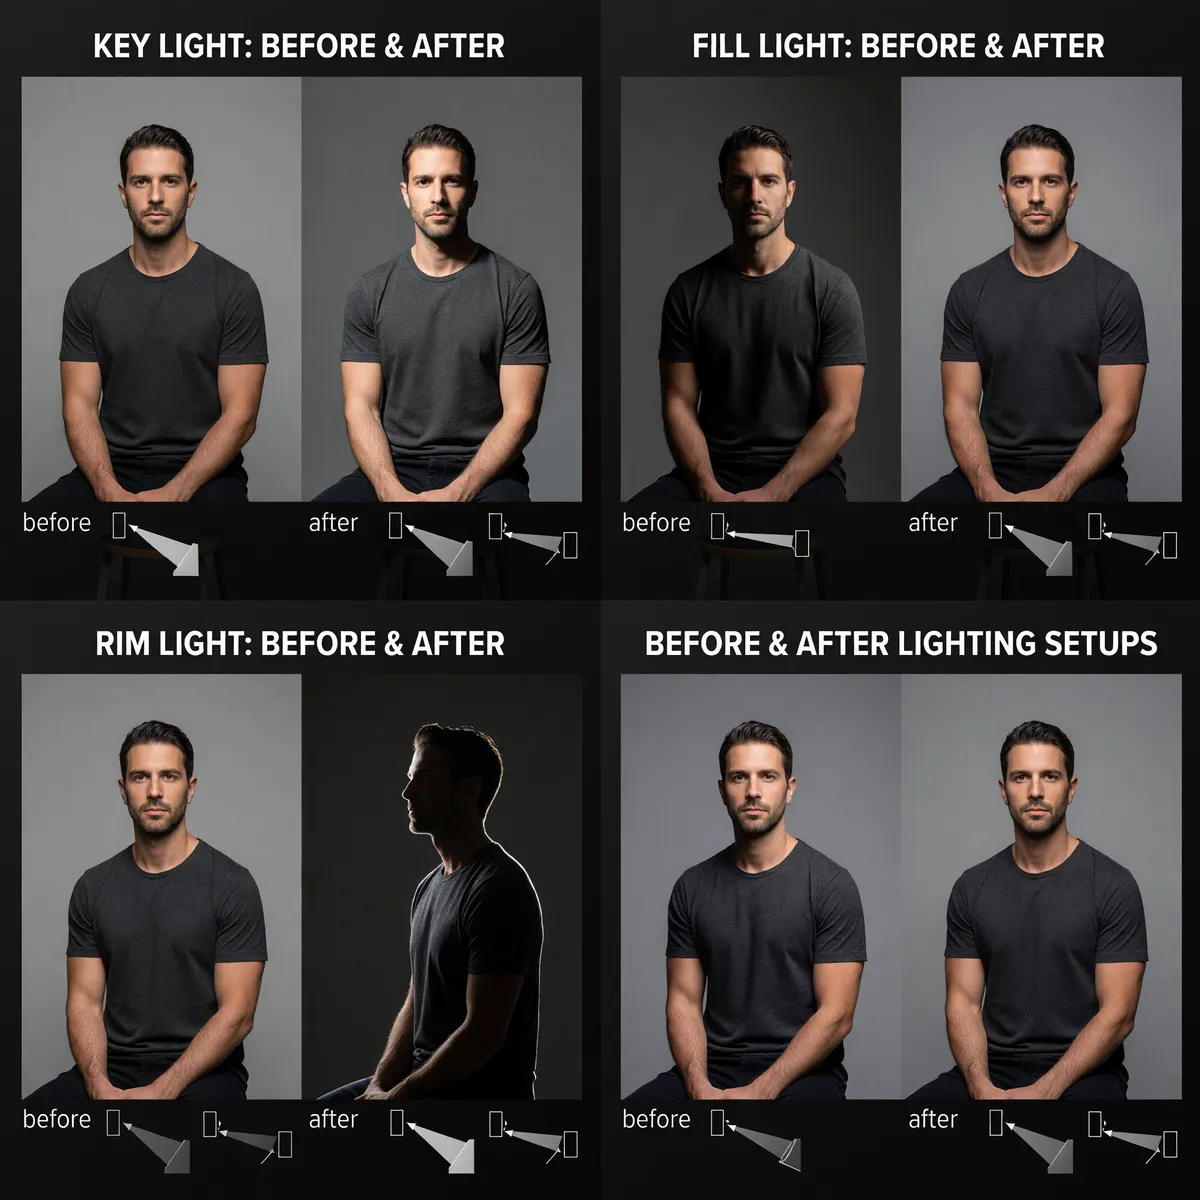
Three-point lighting: Key light (main), fill light (soften shadows), back light (separation from background). The foundation of professional lighting. Specify the ratio between key and fill for different moods. 8:1 is dramatic. 2:1 is soft and flattering.
Rembrandt lighting: Key light 45 degrees to the side and slightly above, creating a triangle of light on the shadow side of the face. Named after the painter. Instantly recognizable. Grok Imagine nails this every time.
Butterfly lighting: Light directly above and in front, creating a butterfly-shaped shadow under the nose. Classic beauty lighting. Often paired with a reflector below.
Split lighting: Light from directly to the side, illuminating exactly half the face. Dramatic and edgy. Works great for character portraits.
Rim lighting: Light from behind, creating a bright edge around the subject. Separates them from the background. Often combined with other lighting as an accent.
Golden hour: Warm, directional sunlight an hour after sunrise or before sunset. Low angle creates long shadows and warm color temperature.
Overcast: Soft, even, diffused light from cloudy skies. No harsh shadows. Flattering for portraits.
Practical lighting: Visible light sources in the scene (lamps, candles, windows). Diegetic lighting that makes sense in context.
When you name these specifically, Grok Imagine delivers them accurately. When you say "good lighting," it guesses.
Camera Language#
Focal length changes everything. Grok Imagine understands how different lenses see the world.
24mm or wider: Wide-angle. Exaggerates perspective. Makes close objects huge and distant objects tiny. Good for environmental shots, dramatic perspectives, showing context.
35mm: Slightly wide. Natural-feeling perspective that includes environment without distortion. Street photography, environmental portraits.
50mm: "Normal" perspective, close to how human eyes see. Versatile. Works for almost anything.
85mm: Portrait lens. Slightly compresses perspective. Flattering for faces. Shallow depth of field at wide apertures.
135mm or longer: Telephoto. Strong compression. Isolates subjects. Blurs backgrounds dramatically. Sports, wildlife, tight portraits.
Specify the aperture too. f1.4 or f2.0 gives you dreamy shallow focus. f8 or f11 keeps more in focus. f16+ gets you deep depth of field for landscapes.
"Shot with a 24mm lens at f8" feels totally different from "shot with an 85mm lens at f1.4" even with the same subject. Grok Imagine renders those differences correctly.
Color and Film Language#
Grok Imagine responds well to color grading vocabulary and film stock references.
Color temperature: Measured in Kelvin. 2700K is warm (candlelight). 5500K is neutral daylight. 8000K is cool (shade). Specify this for consistent color moods.
Film stocks: Kodak Portra 400 (warm, muted, pastel skin tones). Fuji Velvia (saturated, punchy colors). Kodak Tri-X (classic black and white with grain). CineStill 800T (tungsten balanced, teal highlights, orange glow).
Color grading styles: Teal and orange (blockbuster film look). Bleach bypass (desaturated, high contrast). Cross-processed (shifted colors, high saturation). Faded film (lifted blacks, reduced contrast).
Grain: Film grain adds texture and character. Specify "subtle grain" or "heavy grain" or "no grain" depending on the aesthetic.
Example: "Color graded like Kodak Portra 400, warm muted tones with pastel skin, subtle film grain, slightly lifted blacks for a faded vintage look."
Grok Imagine knows what that means and delivers it.
Composition Vocabulary#
How you frame the shot matters as much as what's in it.
Rule of thirds: Subject positioned at intersection points of a 3x3 grid. Classic composition.
Centered/symmetrical: Subject dead center. Wes Anderson vibes. Formal and deliberate.
Low angle: Camera looking up at subject. Makes them look powerful, imposing.
High angle: Camera looking down. Makes subject look vulnerable or small.
Dutch angle: Tilted horizon. Creates tension and unease.
Over-the-shoulder: Framed from behind one subject looking at another. Film dialogue classic.
Close-up, medium shot, wide shot: Distance from subject. Each tells a different story.
I used to skip these details, figuring the AI would compose reasonably. But specifying "low angle shot making the subject look heroic" versus "high angle shot making the subject look isolated" changes the entire emotional impact.
Real-World Example Breakdown#
Let me walk you through a prompt I used yesterday for a client project.
"Full-body shot of a chef in a professional kitchen, standing confidently with arms crossed. Lit with motivated lighting from overhead kitchen fixtures, creating a documentary realism aesthetic. One strong practical light source visible in frame (hanging industrial pendant above). Shot with a 35mm lens at f4 for environmental context, showing the kitchen equipment in slight background blur. Low angle, making the chef look authoritative. Color graded with warm orange tones from tungsten kitchen lighting and teal shadows, modern culinary documentary style. Subtle grain resembling Kodak Vision3 500T film stock."
Subject: Chef, confident pose, professional context.
Lighting: Practical overhead, documentary style.
Camera: 35mm at f4 for environmental feel.
Composition: Low angle for authority.
Environment: Professional kitchen visible but slightly blurred.
Color: Warm/teal grading, film stock reference.
The result looked like a still from a Netflix food documentary. That level of specificity pays off.
What to Skip#
Don't overload the prompt with conflicting styles. "Film noir meets pastel kawaii aesthetic" confuses the model. Pick one clear direction.
Don't use brand names for equipment. "Canon 5D Mark IV" doesn't help. "Full-frame sensor with shallow depth of field" tells the model what matters.
Don't assume "cinematic" or "professional" means anything on its own. Those are empty words. Describe what makes it cinematic. The lighting? The composition? The color grading?
Why This Works#
Grok Imagine was trained on professional photography and cinematography. It knows the technical language because that language was in its training data. Using precise terminology helps it retrieve the right visual concepts.
You're not tricking the AI. You're speaking clearly.
Wrapping Up#
Grok Imagine rewards cinematography vocabulary. Learn lighting setups, camera terminology, color grading language, and composition basics. Use the six-part prompt structure to organize your thinking. Be specific about technical execution, not vague about aesthetic goals.
The better you understand photography, the better your prompts will be. And honestly, learning this stuff makes you better at looking at images too.