I gave Nano Banana 2 the worst prompt I could think of.
Not deliberately bad. Just vague and conceptual in a way that would confuse most models. "A photograph that captures the feeling of nostalgia, like finding old letters in an attic, warm afternoon light, something that makes you pause."
Other models would have given me generic stock photo vibes. Maybe an old box. Maybe some papers. Probably nothing close to what I meant.
Nano Banana 2 gave me a hand holding a faded photograph, dust particles visible in window light, with this specific quality that actually felt like memory. It understood intent, not just keywords.
That's when I realized this model works differently.
The Thinking Model Approach#
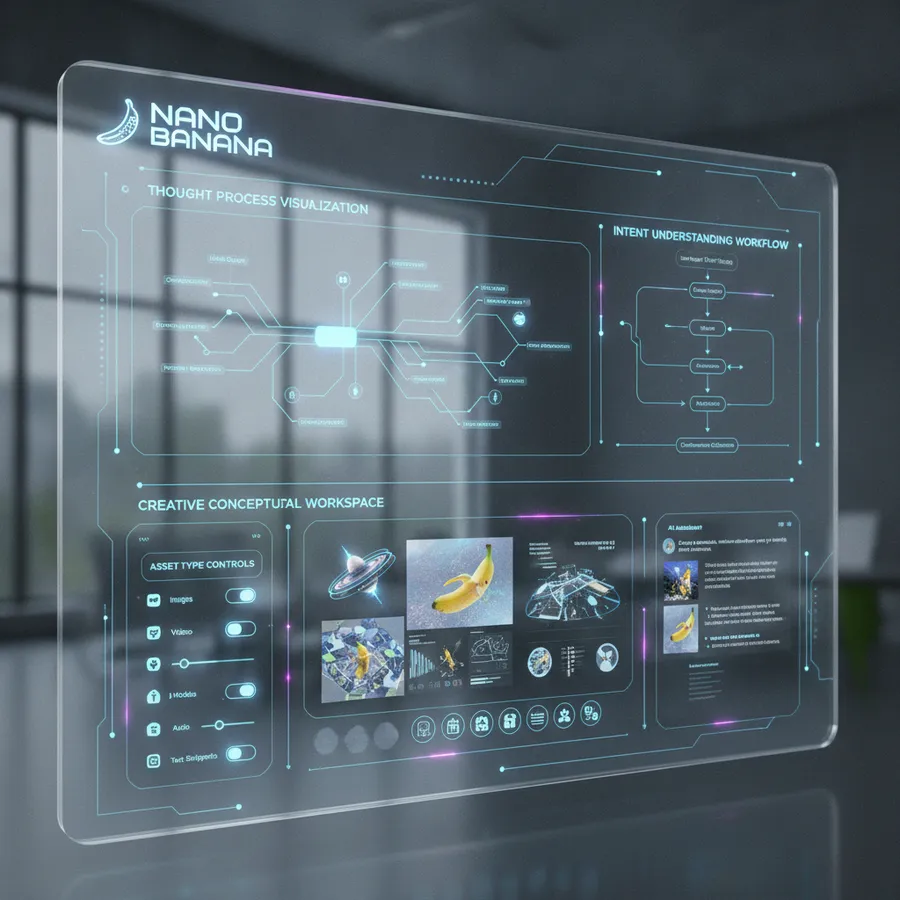
Nano Banana 2 is described as a "thinking model." That sounds like marketing, but there's something real behind it.
Most AI image models pattern-match. They see your words, find similar concepts in their training data, and combine them. You say "cat on a table," they retrieve images of cats and images of tables and merge them.
Nano Banana 2 seems to have an intermediate reasoning step. It interprets what you're asking for before generating. It understands requirements, not just descriptions.
I tested this by giving it incomplete or ambiguous prompts that would normally fail.
Vague prompt: "Product shot for premium coffee, needs to feel artisanal"
Most models would need way more detail. Nano Banana 2 made decisions. Wood surface, natural morning light, visible coffee beans, matte packaging, minimal composition. All the things that visually communicate "premium artisanal."
It inferred intent from context. That's a different capability.
Asset Type Specification#
This is the big unlock with Nano Banana 2. You can specify what kind of output you need, and the model adjusts everything else accordingly.
Asset types I've tested successfully:
Product photography: The model understands commercial product shot conventions. Clean backgrounds, proper lighting for materials, composition that shows the product clearly.
Editorial photography: Photojournalistic style. Natural moments, authentic feeling, storytelling composition.
Conceptual photography: Idea-driven images that represent abstract concepts visually.
Portrait photography: Formal or environmental portraits with proper lighting and flattering composition.
Storyboard frame: Rough sketch quality for planning shots, not finished photography.
Film still: Cinematic composition, dramatic lighting, movie scene aesthetic.
Stock photography: Commercial-friendly, broadly appealing, safe and polished.
When you specify the asset type, Nano Banana 2 applies the appropriate conventions without you needing to describe every detail.
Example: "Product photography of a minimalist watch, premium feel"
The model knows product photography means: white or neutral background, soft diffused lighting to minimize harsh shadows, composition showing the full product with clear details, slight angle for depth, professional and clean.
You didn't have to list those. The asset type implied them.

Photography Terminology Works Deeply#
Nano Banana 2 responds to professional photography vocabulary more accurately than any model I've used except maybe Grok Imagine.
But there's a difference. With Grok, you're describing technical execution. With Nano Banana 2, you're describing intent and letting the model figure out execution.
Example of the difference:
Grok Imagine style (explicit technique): "Portrait lit with Rembrandt lighting setup, key light 45 degrees to the left creating a triangle of light on the shadow side of the face, shot with 85mm at f2.0"
Nano Banana 2 style (intent and context): "Environmental portrait of a craftsman in their workshop, natural window light, honest documentary feel, medium format film aesthetic"
Nano Banana 2 will make good choices about lighting position, camera angle, depth of field, and composition based on understanding what "honest documentary feel with natural window light" actually requires.
You can still be specific if you want. But you don't have to micromanage every parameter.
Concept-First Prompting#
This is where Nano Banana 2 really shines. Start with what you're trying to communicate, not what the image literally contains.
Traditional prompting: Describe the scene in visual detail.
Nano Banana 2 prompting: Describe the idea, feeling, or message, then add visual anchors.
Example for a tech startup website:
Traditional: "Modern office space with people at standing desks, laptops visible, large windows with city views, minimalist design, bright and clean"
Concept-first: "Innovative tech company culture, collaborative but focused, human-centered workspace that feels both productive and welcoming. Modern office environment."
The second prompt gives Nano Banana 2 room to make decisions. It understands what "human-centered workspace that feels welcoming" looks like better than you can describe every element.
I've found this approach works especially well for:
Abstract concepts (trust, innovation, sustainability)
Emotional tones (nostalgic, energetic, calm)
Brand personalities (approachable luxury, serious but not stuffy)
Narrative moments (the turning point, quiet before action)
How to Structure Prompts#
I use a three-part structure that plays to Nano Banana 2's strengths.
Part 1: Intent and concept (What is this for? What should it communicate?)
Part 2: Asset type and photographic approach (What kind of image? What style?)
Part 3: Subject and visual details (What's actually in the image?)
Example:
"Marketing asset for an eco-friendly fashion brand, communicating sustainable luxury and timeless design. Editorial fashion photography with natural outdoor setting. A woman in a minimalist linen dress standing in tall grass at golden hour, soft natural light, muted earth tones, film photography aesthetic."
Part 1 tells the model what this is for and what it needs to achieve.
Part 2 specifies the format and style.
Part 3 gives concrete visual elements.
This order (intent, format, content) consistently gives me better results than just describing the scene.
Real-World Use Cases#
I've been using Nano Banana 2 for client work that requires professional quality with specific messaging.
Brand storytelling: Images that need to communicate values and personality, not just show products. The model understands brand concepts.
Concept presentations: When you need to visualize an idea before shooting it for real. Nano Banana 2 is excellent for "here's what this could look like" mockups.
Editorial content: Article headers, feature images, content that needs to feel considered and intentional.
Pitch decks and proposals: Professional-grade imagery that supports your message and doesn't look obviously AI-generated.
Storyboarding: Planning video or photo shoots by generating reference frames that show composition, lighting, and mood.
What it's not great for: Quick social media content (too slow), highly stylized illustration (it leans photographic), or anything where you need pixel-perfect control.
The Quality-Speed Tradeoff#
Nano Banana 2 is slower than most models. Generation takes 15-30 seconds depending on complexity. That thinking step adds time.
But the tradeoff is worth it when you need the model to make good decisions. I generate fewer variations because the first result is usually closer to what I wanted.
With fast models, I'll generate 10 quick attempts and pick the best. With Nano Banana 2, I'll carefully write one prompt and usually get it within 2-3 tries.
Different workflows for different needs. When I'm exploring ideas quickly, I use Krea 2 Turbo. When I need something specific and professional, I use Nano Banana 2.
What to Avoid#
Don't overload it with conflicting requirements. The model tries to satisfy everything you ask for, and contradictions confuse it.
Bad: "Minimalist and detailed, vibrant but muted, modern vintage style"
Good: "Clean minimalist composition with one subtle vintage element (film grain), muted color palette with one accent color"
Don't micromanage technical details if you're relying on the thinking model capability. Either specify everything (technical approach) or specify intent and let it decide (concept approach). Mixing both creates confusion.
Don't expect illustration or highly stylized art. Nano Banana 2's strengths are in photographic realism and conceptual photography. If you want anime or watercolor or abstract art, other models are better.
Prompting Strategy#
Decide whether you're giving directions or describing intent. Both work, but pick one approach per prompt.
If describing intent, be clear about the purpose. "Website hero image for a law firm, communicating trust and expertise" tells the model what to optimize for.
If giving directions, be thorough. Don't half-specify technical details and expect the model to guess the rest.
Use asset type specification. It's the fastest way to get professional results.
Test your prompts by removing details. If the result gets better or stays the same, you were over-describing. Nano Banana 2 often does better with less micromanagement.
Why This Model Matters#
Nano Banana 2 is the first AI image model I've used that feels like it understands assignments, not just descriptions.
"Make me a marketing image for X" is a different kind of request than "Make me an image showing Y." The first requires understanding what works for marketing. The second just requires rendering what you described.
Nano Banana 2 handles the first kind better than anything else I've tried. That makes it exceptionally useful for professional work where the image needs to solve a problem, not just exist.
Wrapping Up#
Nano Banana 2 rewards concept-first prompting. Describe intent and purpose, specify asset type, give visual details. Let the thinking model make technical decisions based on what you're trying to achieve. Use photography terminology for style and approach. Be patient with generation time. Expect professional results that actually understand the assignment.
This is the model for when the image needs to mean something.